How to Use Vita App for Video Editing? Complete Tutorial
There are many video editing apps on the Play Store, but the user interface of many is not good and watermarks come in many apps, vita video editing app is different. It is easy to use, plus you can remove the watermark for free. So let’s know in today’s article what is vita app video maker app (How to use vita app), how to edit video in vita app (how tutorial and review), how to remove watermark vita app, vita app guide, How to use vita app on phone, How to use vita app without watermark.
What is Vita Video Editing App?
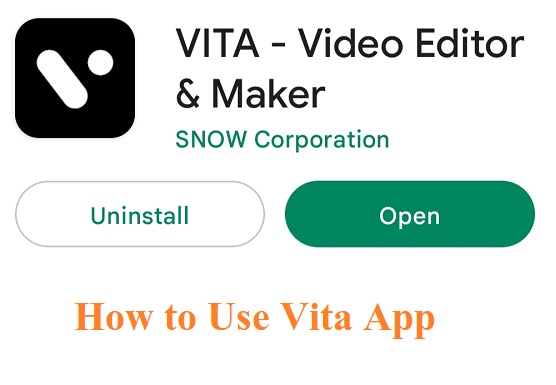
Vita app is a video editing application that you can install and use on your Android or iOS device. It has more than 100m downloads on play store. It has made it to the top in best video editing android app and ios. In this, with the help of many features and tools, a very professional level video can be edited. And it’s absolutely free.
How to Download Vita Video Editing Application
To download the Vita app, first go to the Play Store. If you are an iphone user then go to the app store. Now search vita app and click on download button. You can download directly from the link given below.
Download VITA – Video Editor & Maker
How to install Vita app?
After downloading the vita app, click on install. Now open the app. At the time of opening the app, you will take some permission. It will open after giving permission. Now your app is ready for video editing.
Features of Vita Application
First of all, let’s know about some features of vita app.
- Speed option : The video can be made slow and fast by going to the speed option.
- PIP : With the help of this option, you can also make a clone of the video. With the help of this option, another video can also be played simultaneously on top of the video or image.
- Music: You can add background music of your choice to the video. You can select music from your phone device. Apart from this, you also get free copyright music, which can be used in your project.
- Text:In the text option, you can add text to the video. You will get many options to customize the text. There are also pre-made title, label and font templates in the text option.
- Transitions: You can make the video even more cinematic by using video transitions.
- Ratio: In this option, you can apply the ratio of the video. If you want to upload video to youtube then you can edit video using 16:9 ratio. And can use 9:16 for youtube shorts.
- In this, you can export videos in Full High quality (1080p).
- Even after exporting, you can go to the project and select the recent project and edit it again.
How to edit videos in vita app
First open the vita app and follow the steps given below. (how to use vita app)
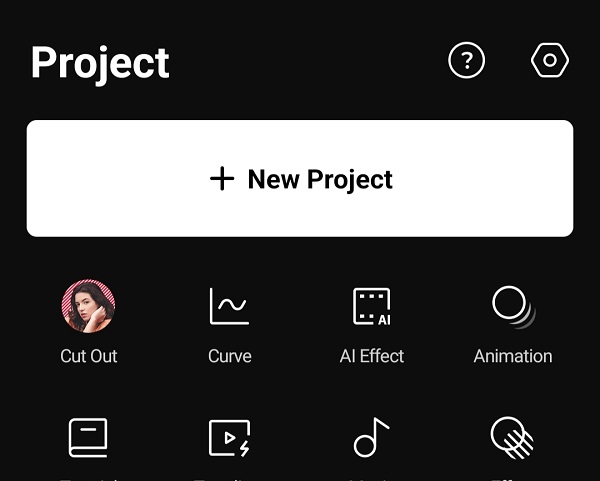
1). After the app is open, click on New project.
2). After this, select any video or photo you want to edit.
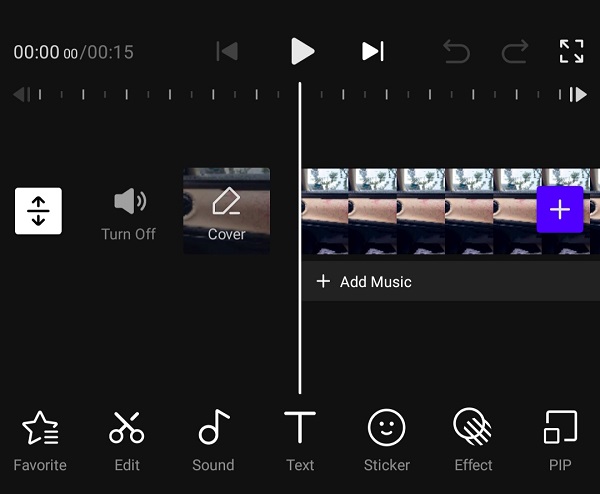
Now start video editing, below you will find many tools.
Like- style, edit, ratio, effect, music, text, PIP, stock, sticker, mosaic, filter, adjust, volume, BG, speed, scale, rotate, order, Setting.
Know about all these tools in detail one by one- How to Use Vita?
1. Template: In this you will get many templatets for free. There are already many effects and background music in it, which you can later change in your own way by going to the edit section.
2. Edit: By editing, you can edit that clip, which you have selected. In this you will get many options. As –
- Split : Video is cut with this option,
- From now :This is used to delete or remove the unnecessary clip on the left side of the video or clip.
- Until now :This is used to delete or remove the unnecessary clip on the right side of the video or clip.
- Speed :With this, the speed of the video is reduced or increased.
- Volume : In this, you can set the volume of the video.
- Delete : The delete option is used to delete the video clip.
- AI Effects : You can add effects to your clips.
- Reverse :Can reverse video.
- Animation : Animation can be inserted in that selected video. There are three options in this – frame out, frame in and dynamic.
- Adjust :In this option, you can apply brightness, contrast, saturation, vignette etc. of the video.
- Copy : You can copy the video clip to the timeline.
- BG : With this option, you can apply blur, color and image in the middle of the video. Like changing the color of the background.
- Scale : Video is used to zoom in and zoom out.
- Rotate : In this option, along with video flip and mirror effect, you can also see the option to rotate the video in 15° and 90°.
- Replace : If you want to change a click in the middle, you can replace it from here.
4. Effects: This option is used to add effects to the video. There are different types of effects in this option. Which can be made good by putting a video.
5. Music: This option is useful for applying video background music. It also has audio library, which you can use in your videos.
6. Text: With this option text is inserted in the video. Apart from this, you can also see the effects of stickers and GIFs. There is also an option of caption, title, label and font to enter text.
7. PIP: PIP stands for Picture in Picture. With this option, another photo or video can be inserted in the middle of the video of the main timeline, that too with custom size. Means multiple videos can be shown simultaneously.
8. Stock: There are many tending effects in it. And you can use that effect in any other video by saving the customize effects. Here you will also find paid effects.
9. Sticker: All text options will be found here.
10. Mosaic: This option is used to blur.
11. Filter: Used to add filter to the video. There are many types of filters in it, which helps a lot in giving a professional look to the video. Like you can filter the color of the video.
12. Adjust: In this option, to adjust the brightness, contrast, saturation etc. of the video or photo.
13. Volume: The volume option is used to increase or decrease the volume of the video.
14. BG: In this option blur, color and image are used as background in the video of the main timeline. If you want to keep another color in the background, you can use it from here.
15. Speed: You can increase or decrease the speed of the video.
16. Scale: In this option, you can zoom in and out on the screen in the customize ratio of the video.
17. Rotate: Video is used for rotation. It also has mirror effect and flip option along with 15° and 90°.
18. Order: You can set the sequence of the video.
In this way you can use all the features of vita app.
How to Remove Watermark in Vita Video Maker App?
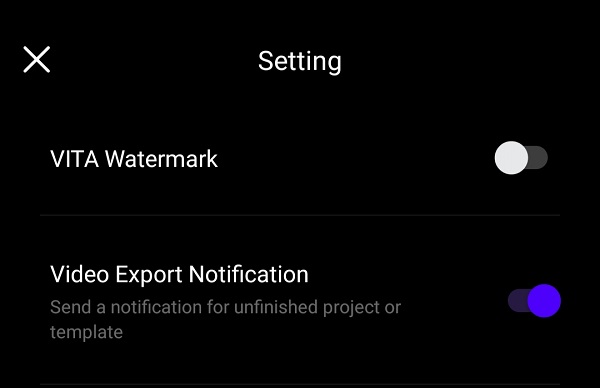
There are many apps available on the Play Store, which are the best for video editing. But everyone has the same problem. After exporting the video, watermark comes in it. But you can remove watermark free in vita app. So let’s know how to remove watermark in vita video maker?
- First of all go to the home page of vita app.
- Now there will be a setting option in the top right corner, select it.
- Here there will be an option of watermark, turn it off.
How to use vita app for slow motion
Step 1. To make slow motion video from Vita app, first of all open Vita app.
Step 2. After clicking on New project, choose the video you want to do in slow motion.
Step 3. After selecting the video, click on the done option and import the video into Vita app.
Step 4. Now click on the speed option.
Step 5. After clicking on the speed option, you will have the option to reduce or increase the video speed, from there you can reduce the speed of the video and in this way you can make slow motion from Vita app.
Friends, in this way you can use the app for free (How to make video on Vita App).
FAQ
Is Vita app free or paid?
Ans: Free
How to remove watermark in Vita app?
Ans: You can remove watermark by going to Settings.
Friends, if you have any questions related to Vita app, you can ask in the comments below.
Also, Read More:-